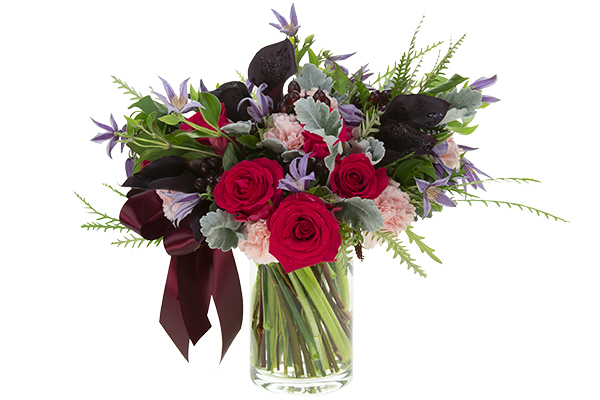
Valentine's Spiral Hand-Tie
Looking for a chic and stylish way to share flowers on Valentine’s Day? FDI Instructor Marisa Perring AIFD FDI has the answer as she puts a contemporary spin on the classic spiral hand-tie bouquet, creating the perfect gift for you or someone you love. Unique and interesting textures are paired with tints, tones, and shades of traditional holiday red, giving you a special way to say “I love you” with a flourish!
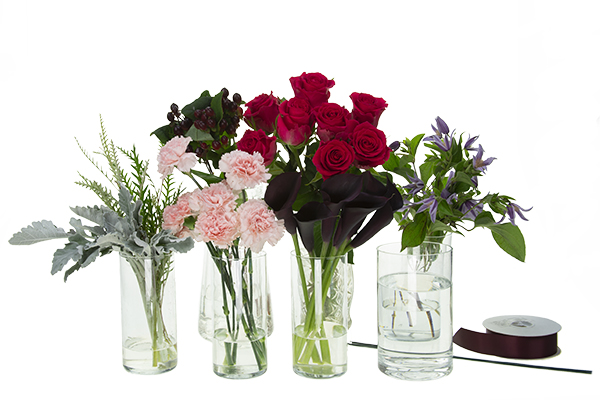
STEP ONE: Gather your fresh flowers and foliage along with a vase. When selecting materials for a spiral hand-tie, it is best to choose stems that are straight and strong (rather than curved) to keep the spiral as consistent as possible. The full recipe appears at the bottom of the page Here.
STEP TWO: Prepare the stems of your materials by removing any excess leaves. This technique insures that the stems of your flowers and foliage will be neat and tidy below the bouquet's binding point, and it helps to highlight the spiral form in a clean and clear fashion throughout the design.
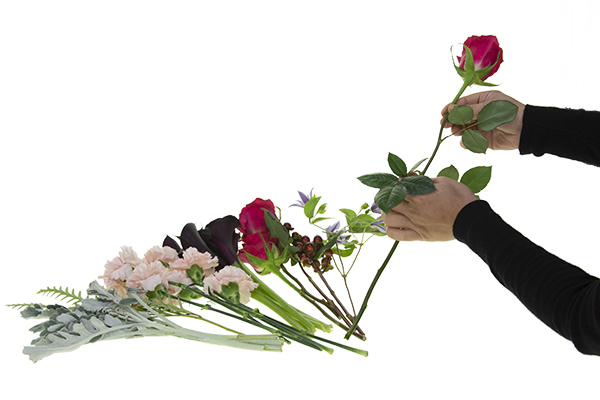
STEP THREE: Consistent placement of flowers and foliage is the most important factor when designing a spiral hand-tie bouquet. All stems must be placed in the same direction.
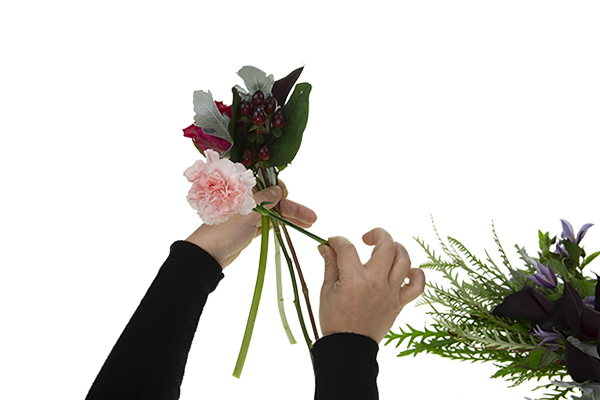
Start with a few stems of flowers straight up in your hand. Teacher Marisa is right-handed so to begin the spiral, she places materials in her left hand and uses her dominant right hand to add stems, always with the “head” to the left and “stem” to the right. Keep each stem placed in the same direction to create a beautiful swirl consistently all the way around the bouquet.
If you are left-handed, do the opposite. Hold the materials in your right hand and use your left hand to place them, keeping the “head” to the right and “stem” to the left.

STEP FOUR: Add in clematis and callas for dramatic effect. When placing callas into the bouquet, point their tips outwards to create a more natural look and a unified rhythm throughout the design.
*** A very helpful tip: keep turning your bouquet when adding in materials. This technique helps to maintain overall balance. Just keep thinking to yourself: place materials, then make one quarter turn, place more materials, then make another quarter turn.
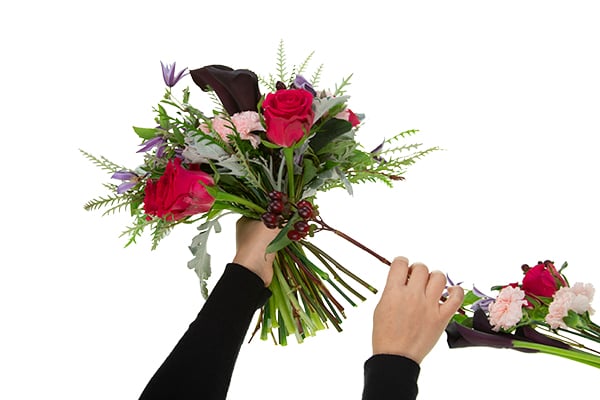
STEP FIVE: Add additional stems of clematis, hypericum, grevillia, and any other remaining materials to enhance visual interest and expand the bouquet. Remember to place the “head” to the left and the “stem” to the right, and keep turning the bouquet.
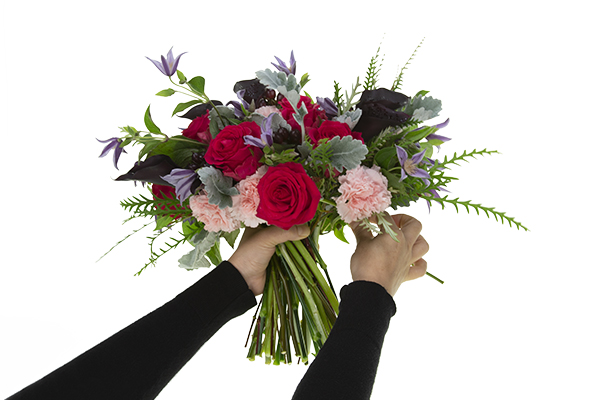
STEP SIX: Give the bouquet one last turn and place the final rose “head” to the left and “stem” to the right to finish it off.
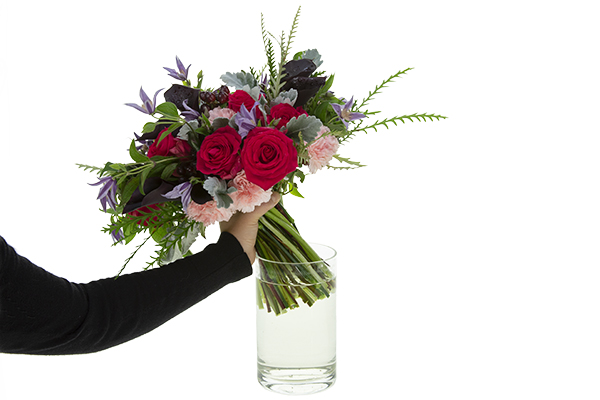
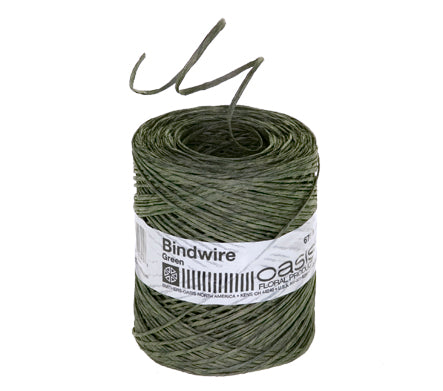
STEP SEVEN: Remove any excess leaves that appear below the binding point, then place the spiral hand-tie into the vase. The finished bouquet is set into the container without a secure tie to allow for a more casual and relaxed appearance. For a more controlled look to the design, tie it off with bind wire or raffia, then place it into the vase.
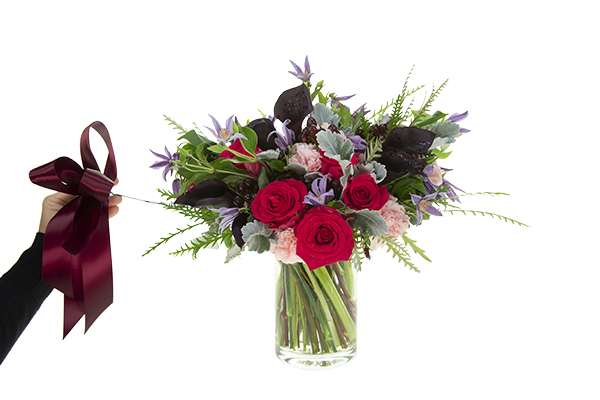
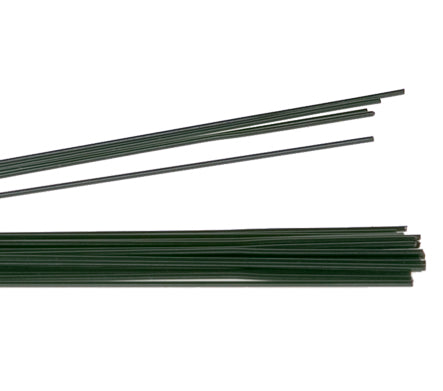
STEP EIGHT: A touch of dark burgundy ribbon serves to unify the color with the shades from the callas and hypericum. Satin also adds a bit of romance to the bouquet, making it the perfect choice for Valentine’s Day. The bow has three loops total and four streamers which are secured with one 18-gauge wire. Nestle the wire into the bouquet to insure that it will not be visible.

STEP NINE: The spiral is a marvelous technique to showcase the splendid swirl of stems in a clear glass vase, and it also functions as an excellent alternative to floral foam or floral netting as a stabilizer.
Thank you to FDI Instructor Marisa Perring AIFD FDI for sharing the steps to create this gorgeous Valentine's Day spiral hand-tie bouquet. If you would like to learn more, join us in the Classroom or Online and study the theories and techniques of design with the Floral Design Institute Teachers.
Full Recipe
Eight stems Mini Calla
Ten stems Red Rose – "Gotcha" variety
Ten stems Carnation
Five stems Clematis
Six stems Hypericum
One quarter bunch Grevillia
One half bunch Dusty Miller
Glass Cylinder Vase - 8 inches tall with a 4 1/2 inch opening
Some #9 Burgundy Satin Ribbon
Bind Wire
One 18 gauge Wire