Glamorous Flower Jewelry
The spring fashions have hit the stores. My, oh my! Soft, flirty dresses in colorful floral prints fill the racks. The New York Times is displaying full-page advertisements (Eek! What must that cost?) of peony print fluff dresses. Girly-girl is definitely in style.
These feminine, floral dresses demand "Glamorous Flower Jewelry" to compliment. Click through the following how-to pages and enjoy what may be the hottest accessory for proms this spring!
STEP ONE:
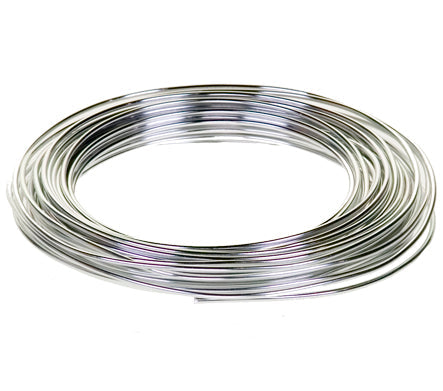
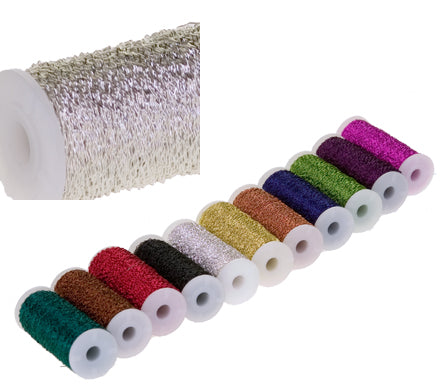
The Oasis decorative wires come in many colors. One (or two) is sure to match your favorite dress. For a simple ring, you will need aluminum wire, bullion wire, Oasis floral adhesive, diamante pins and a small flower blossom.

STEP TWO:
Create a ring by twisting a 6” length of aluminum wire around your finger. Not too tight: it is easier to size down later than it is to enlarge.
STEP THREE:
Loosely wrap the bullion wire around three fingers about 35 times. Stretch your fingers apart slightly so you can easily slide the wires loops off when you are done. Round and round you go…
For fun, try 2 or 3 different colors. Blue, green and purple combine to give you a dramatic peacock color scheme.
STEP FOUR:
Using a bit more bullion wire, bind the looped bullion wire tightly together in the center to create a figure 8. Now you are ready to fan out and fluff the loops creating a colorful daisy form.
STEP FIVE:
Place this on the ring base and fold the extended arms of aluminum wire across the top to anchor it in place. To get a nice firm connection, squish the joint tightly together with a pair of needle nose pliers.
STEP SIX:
Isn’t this fun? And easy too! The base is complete and pretty all by itself. To finish, choose the perfect blossom and glue it in place with a dab of Oasis floral adhesive. Just a dab will do ya!

STEP SEVEN:
Add the head of a single diamante pin to the center of the flower for a sparkling touch of glamour. For a touch of whimsy, a tiny lady bug could be glued in place. Ohhh…. that sounds like fun!
Looking through my closet, I may have a problem. Basic black is everywhere. I guess I could brighten the black with a flower ring. But better yet: time to go shopping! It’s time to find the perfect flowery dress so I can make a ring. Maybe I’d better head to the nail salon too. I guess there is no time for work today!
Thank you for sharing this gorgeous floral ring. If you would like to lean more, join us in the Classroom or Online and study the theories and techniques of design with the Floral Design Institute Instructors.